Watch the video above, then follow along with the step-by-step breakdown below.
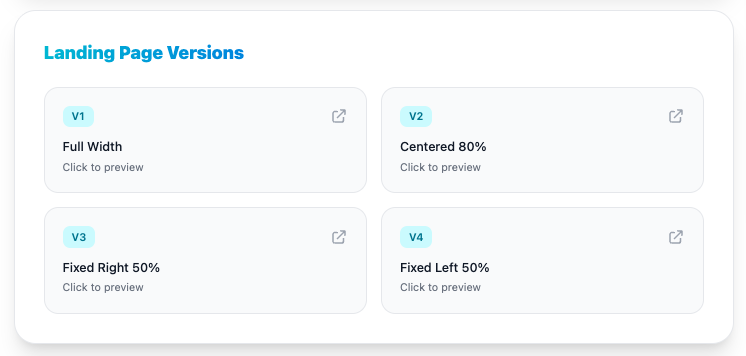
The Four Landing Page Versions
Each strategy comes with four landing page layouts, perfect for A/B testing to find the best-converting version for your campaign:
- V1 — Full Width — form embedded in the hero section
- V2 — Centered 80% — form opens in a modal
- V3 — Fixed Right 50% — fifty-fifty split with a sticky form on the right
- V4 — Fixed Left 50% — fifty-fifty split with a modal form
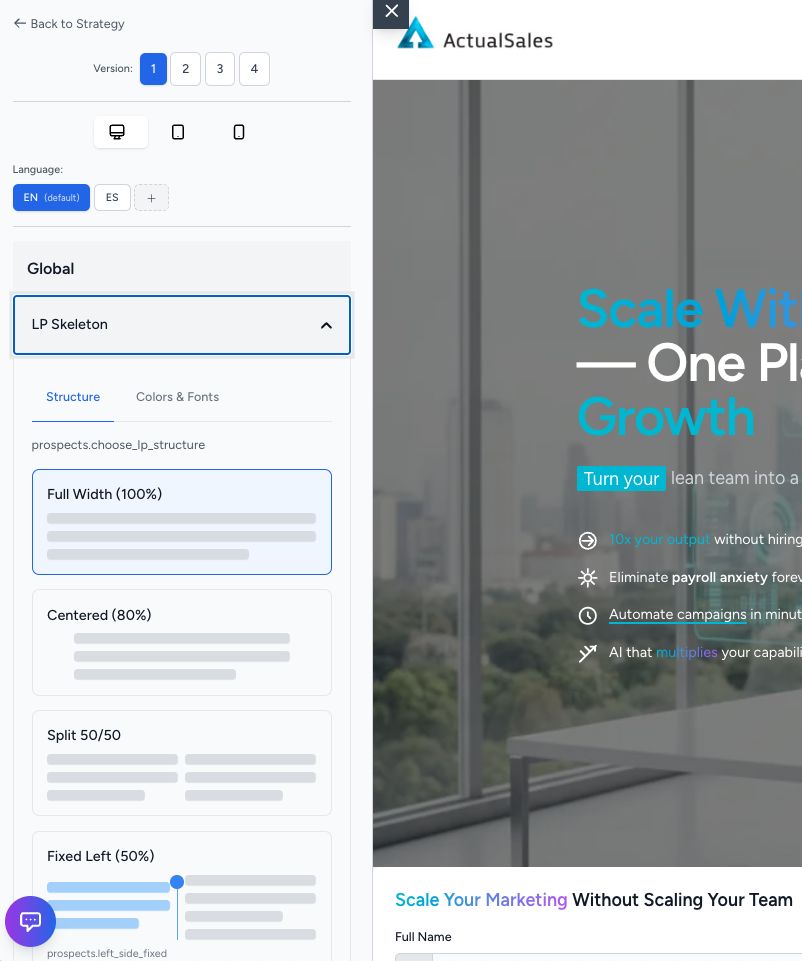
The Skeleton & Global Settings
In the sidebar editor, the
LP Skeleton section controls the overall page structure. Under the
Structure tab you can switch between the four layout types. The
Colors & Fonts tab lets you edit the fonts and colors used on the page and apply your DNA typography.
You can also switch between
desktop, tablet, and mobile view modes to test responsiveness. Above the global section, the
Language selector shows all available languages with a
+ button to add more.
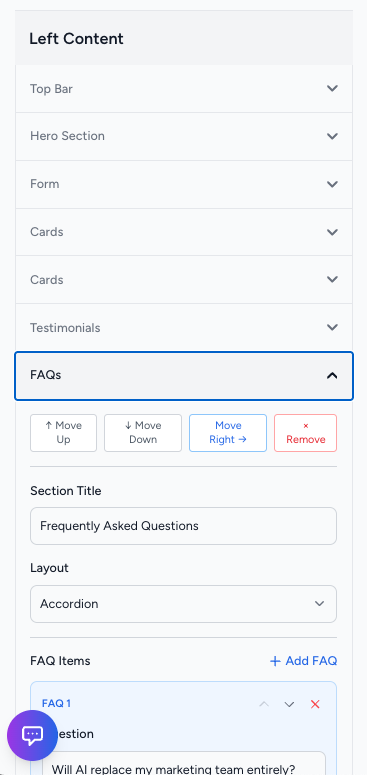
Sections & Reordering
Below the skeleton you will find all the landing page sections. By default you get a Top Bar, Hero Section, Form, Cards, Testimonials, and FAQs. Each section can be expanded to edit its content.
Every section has controls to
Move Up,
Move Down,
Move Right (into a column), or
Remove it entirely. You can also change the section title, layout, and add or delete individual items.
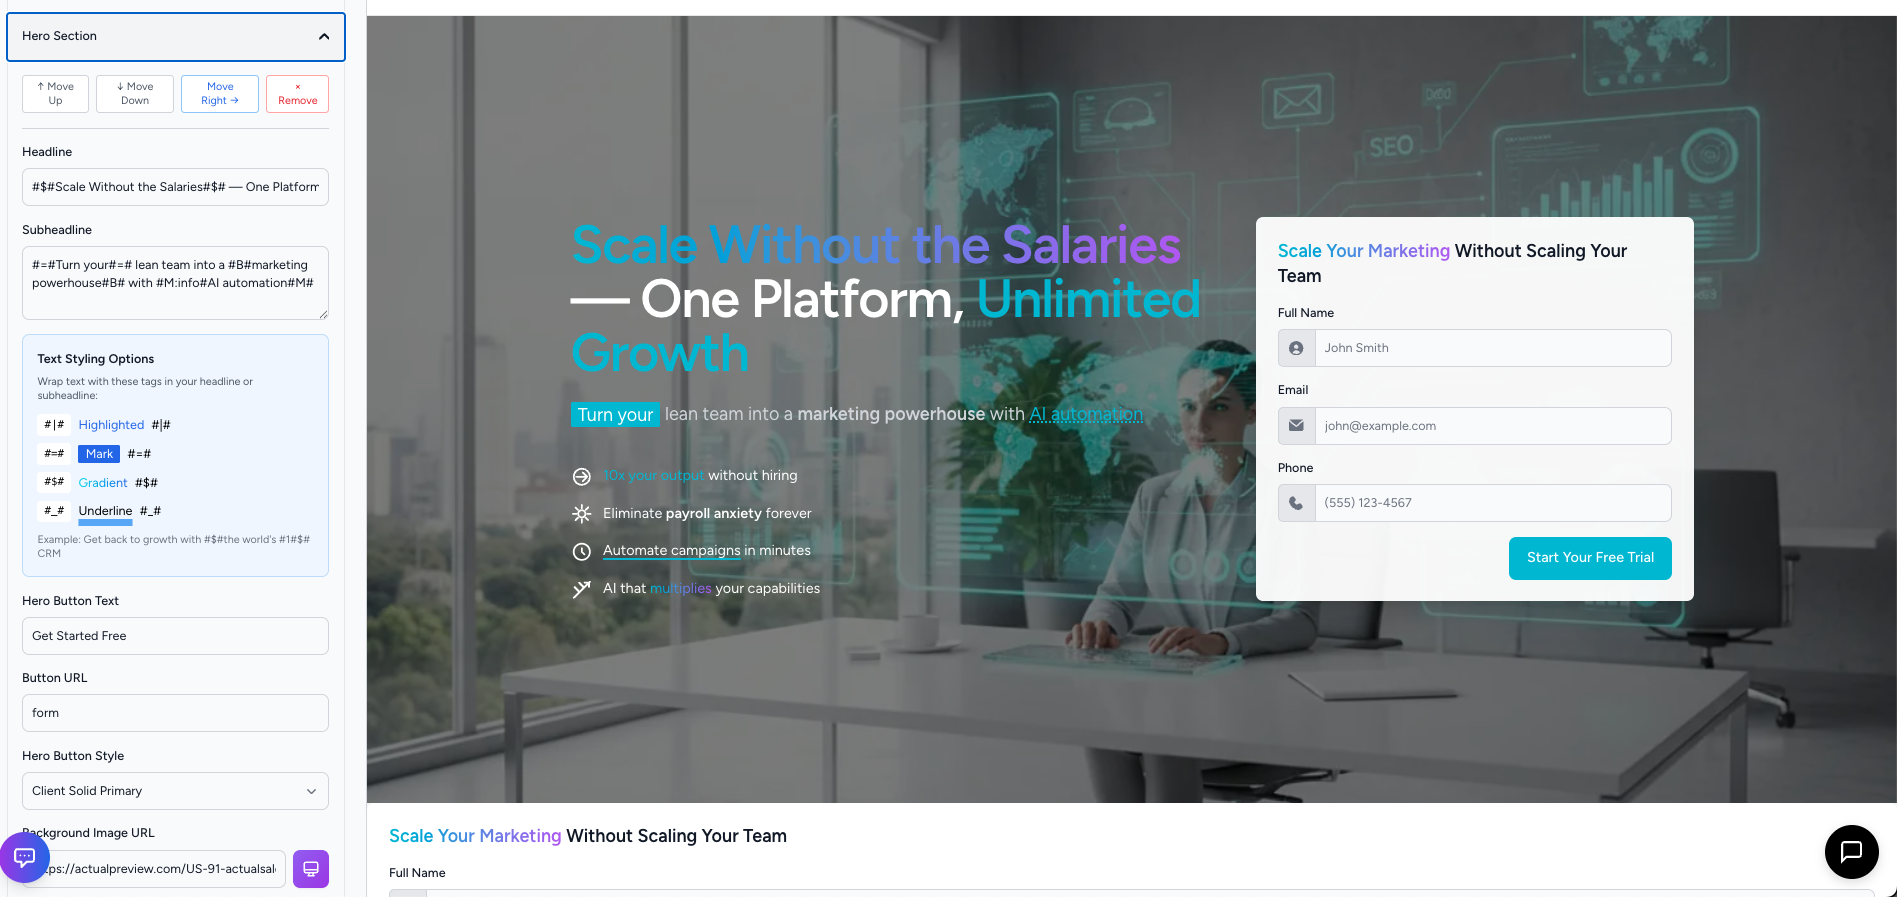
Editing the Hero Section
Expand the
Hero Section to edit the headline, subheadline, button text, button URL, button style, and background image. The
Text Styling Options panel shows all available inline highlights — Highlighted, Mark, Gradient, and Underline — with their marker syntax.
For example, wrap text with
#$# to apply a gradient effect, or
#=# for a mark highlight. You can also edit the hero button text, URL, and style.
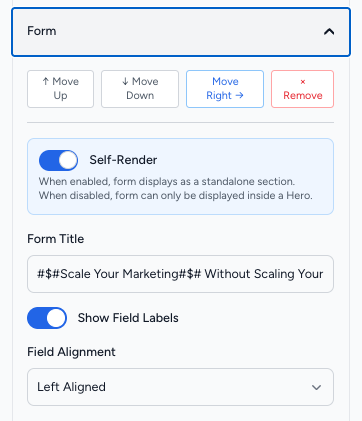
The Form Section
The
Form section has powerful configuration options:
- Self-Render — when enabled, the form displays as its own standalone section on the page. When disabled, it can only appear inside a Hero section
- Show Field Labels — toggle to show or hide field labels above inputs
- Field Alignment — control how form fields are aligned
- Form Steps — add multi-step forms by creating steps and adding fields to each step
- CTA Buttons — edit all call-to-action button text
- TCPA Legal Text — edit compliance and legal disclaimers
- Thank You Message — customize what users see after submitting
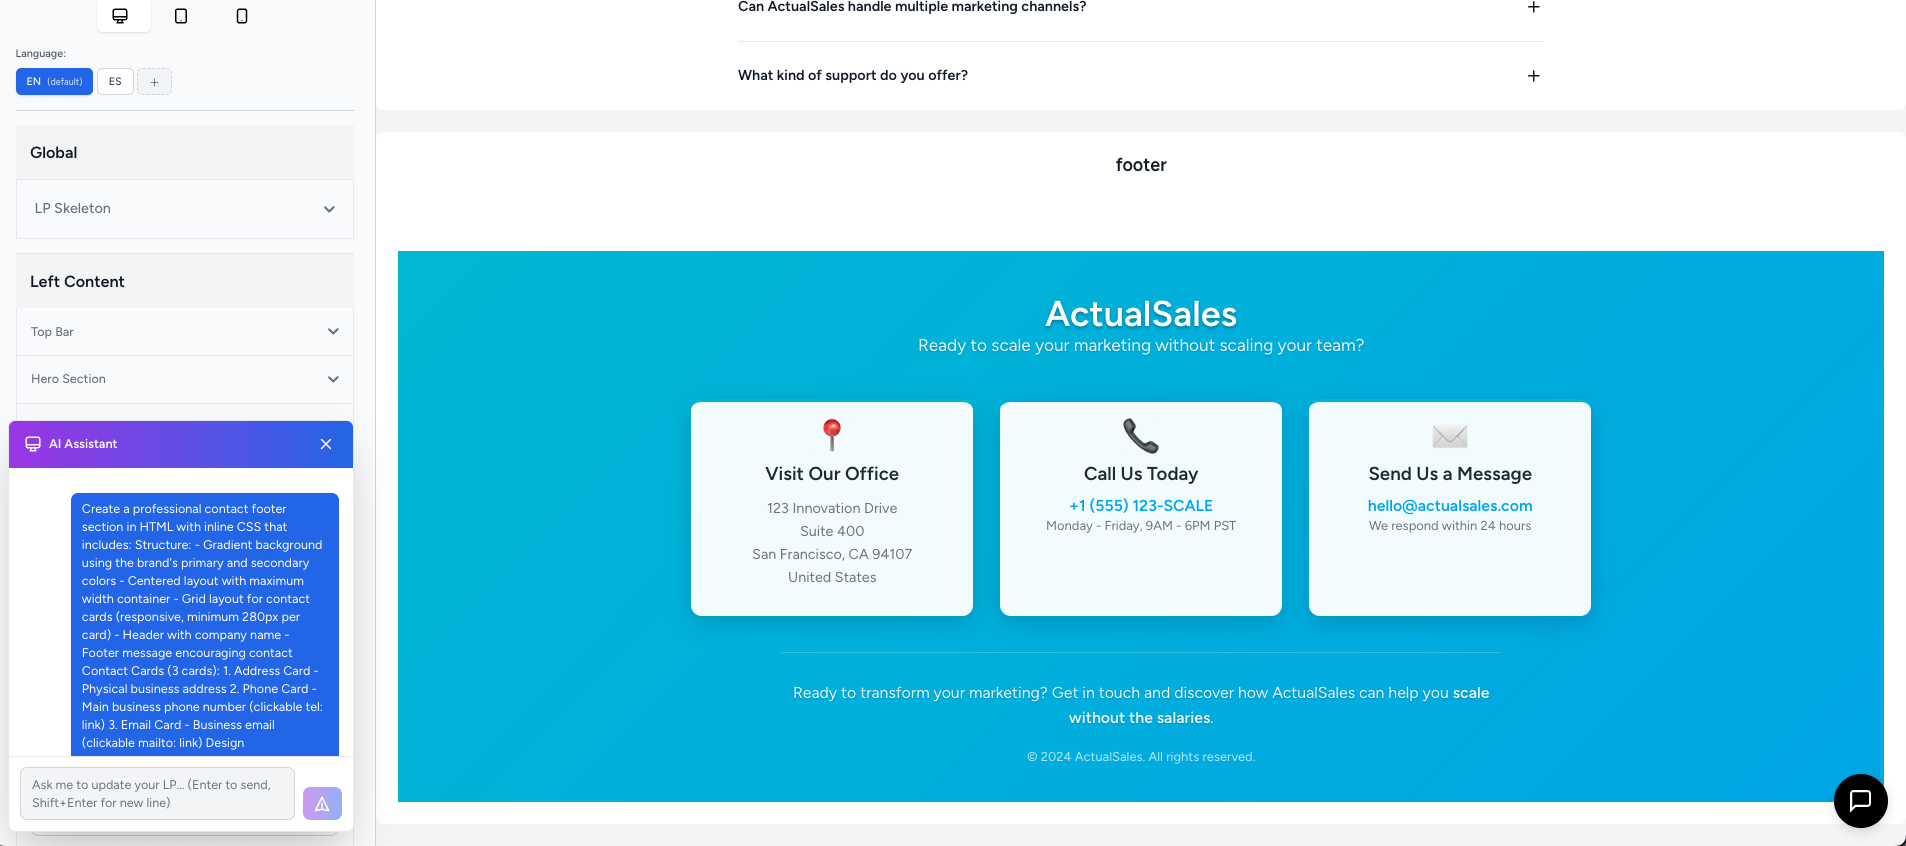
Code Vibing with the AI Assistant
The
AI Assistant is a powerful tool for creating or modifying sections using natural language. Open the chat panel and describe what you want — for example, a professional contact footer with gradient background, contact cards, address, phone, and email.
The AI generates the HTML with inline CSS and applies it directly to your landing page. You can iterate on the result by sending follow-up instructions.
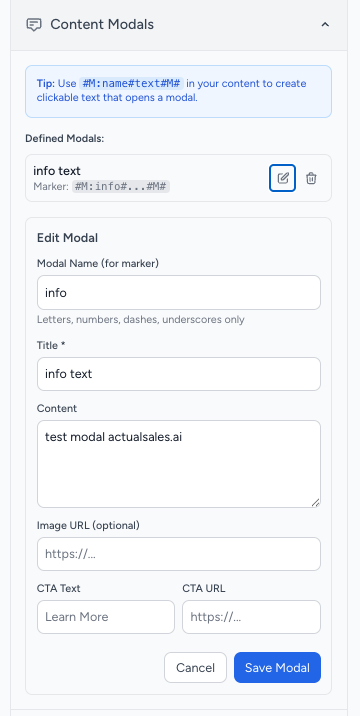
Content Modals
Content Modals let you add popup overlays that open when a user clicks specific text on the landing page. Go to the Content Modals section and click
Add Modal.
Give it a
Modal Name (used as a marker), a
Title,
Content, and optionally an image URL and CTA button. To trigger the modal from any section, wrap text with
#M:name#your text#M# where "name" is the modal name you defined.
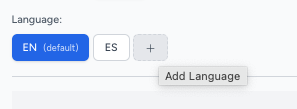
Adding Languages
Above the Global section, the
Language selector shows all configured languages. Click the
+ button to add a new language — the platform will translate the entire landing page automatically.
This concludes Session 4 of the ActualSales.ai Academy. Remember, the correct landing page is the door to actual sales. See you in the next session!