Watch the video above, then follow along with the step-by-step breakdown below.
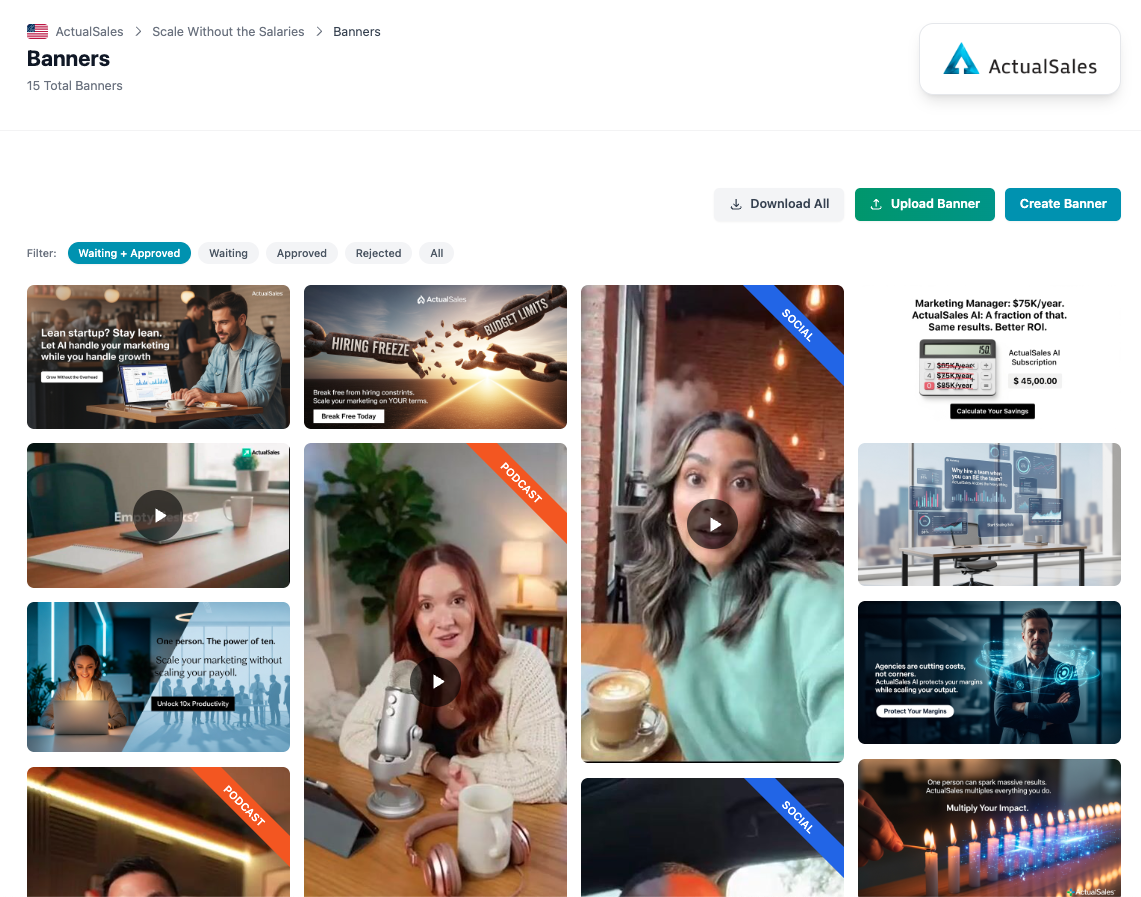
The Banners Gallery
Inside each strategy, the
Images & Videos section shows all your creatives in a filterable grid. You can filter by status — Waiting + Approved, Waiting, Approved, Rejected, or All.
At the top right you have three buttons:
Download All to export everything,
Upload Banner to add your own, and
Create Banner to generate a new one with AI.
Creating a Banner
Click
Create Banner to open the creation dialog. Choose the
Banner Type:
- Image — a static banner image
- Video — an AI-generated video
- Video Reference — a video based on a reference
- Video Infinite — an infinite-style video
Enter a
Prompt describing the scene, mood, colors, and composition. The platform combines your prompt with the strategy context to generate a targeted creative. The estimated credit cost is shown before you create.
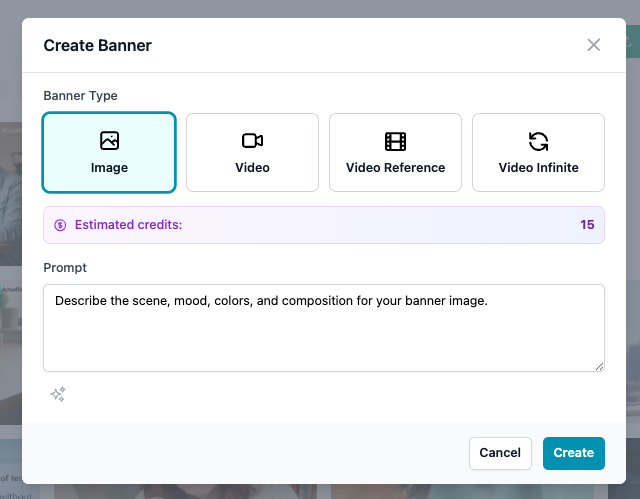
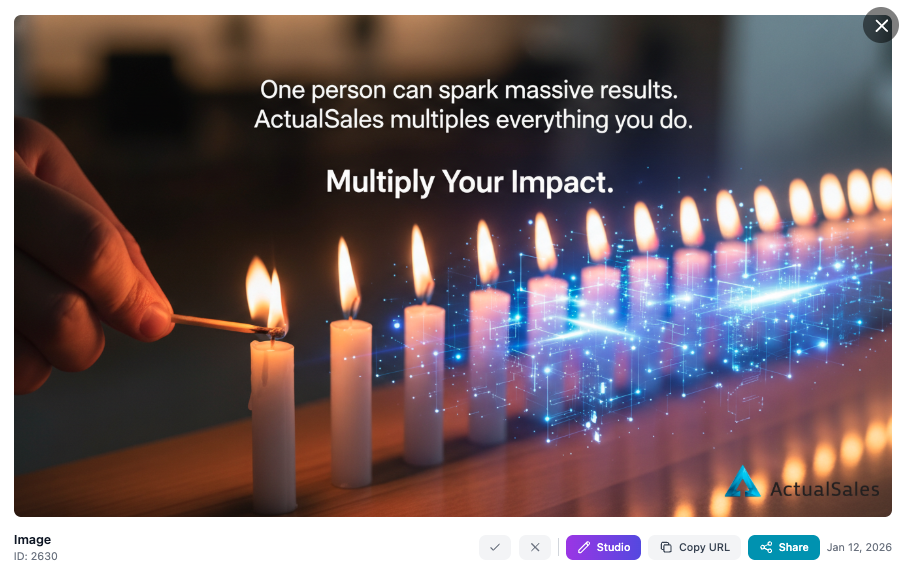
Image Preview & Actions
Click any image to open it in a preview overlay. From here you can:
- Approve or Reject the creative (checkmark / X buttons)
- Studio — open the image editor
- Copy URL — get a direct link to the asset
- Share — share it externally
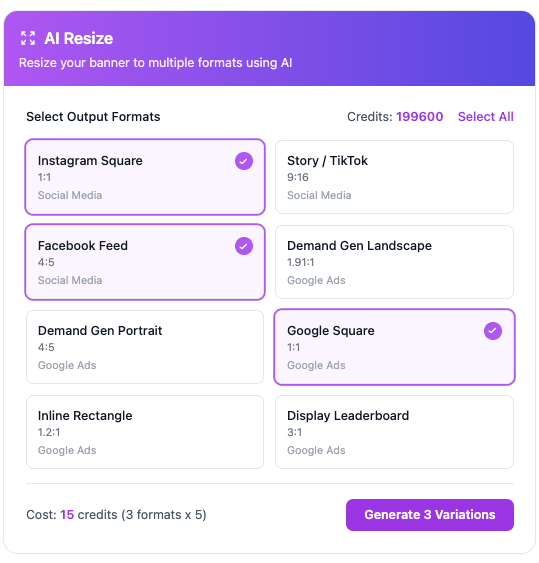
AI Resize for Multiple Formats
In the studio, the
AI Resize tool lets you generate variations for different ad platforms in one click. Select the formats you need:
- Instagram Square (1:1), Story / TikTok (9:16) — Social Media
- Facebook Feed (4:5) — Social Media
- Demand Gen Landscape (1.91:1), Demand Gen Portrait (4:5) — Google Ads
- Google Square (1:1), Inline Rectangle (1.2:1), Display Leaderboard (3:1) — Google Ads
The credit cost is calculated based on the number of formats selected. Click
Generate Variations and all resized versions are created automatically.
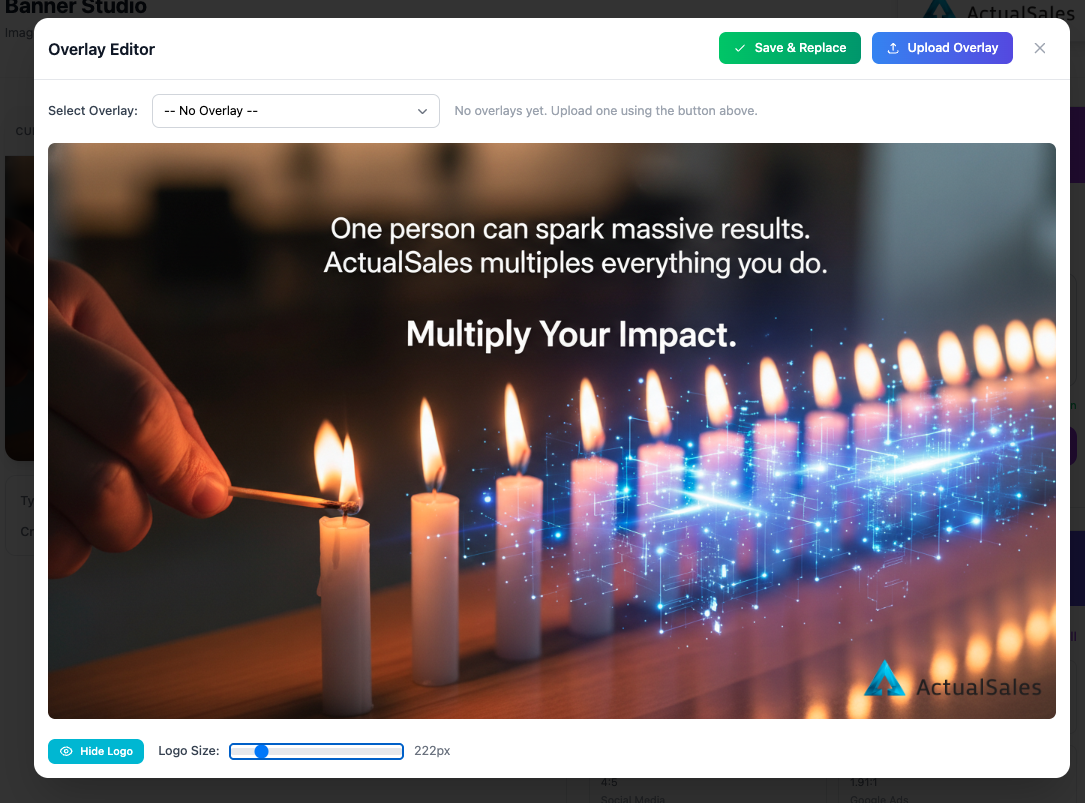
Logo Overlay on Images
The
Overlay Editor in the Banner Studio lets you control the logo on your image. You can drag the logo to any position, adjust the
Logo Size with a slider, toggle
Hide Logo to remove it, or
Upload Overlay to use a custom overlay with the logo in an exact position.
Click
Save & Replace to apply the changes.
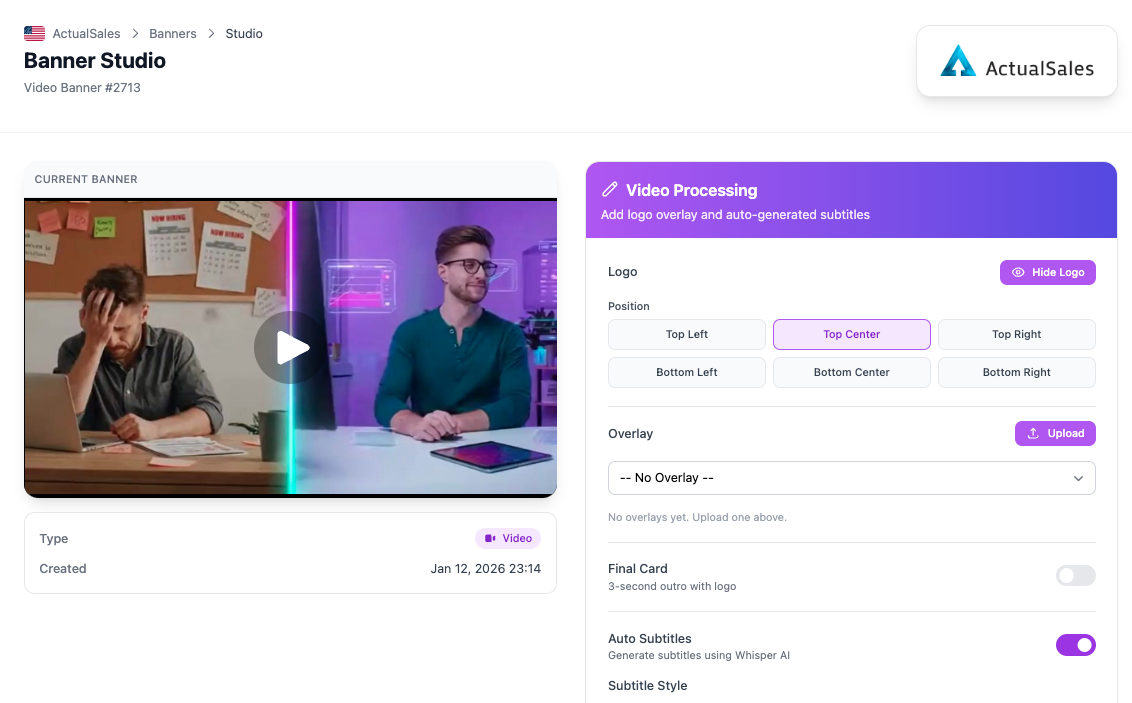
Video Studio & Processing
The
Video Studio gives you full control over video post-processing:
- Logo — position the logo (Top Left, Top Center, Top Right, Bottom Left, Bottom Center, Bottom Right) or hide it entirely
- Overlay — upload a custom overlay for precise logo placement
- Final Card — toggle a 3-second outro with your logo
- Auto Subtitles — generate subtitles using Whisper AI with customizable subtitle style and colors
Process the video to see the final result with all your customizations applied.
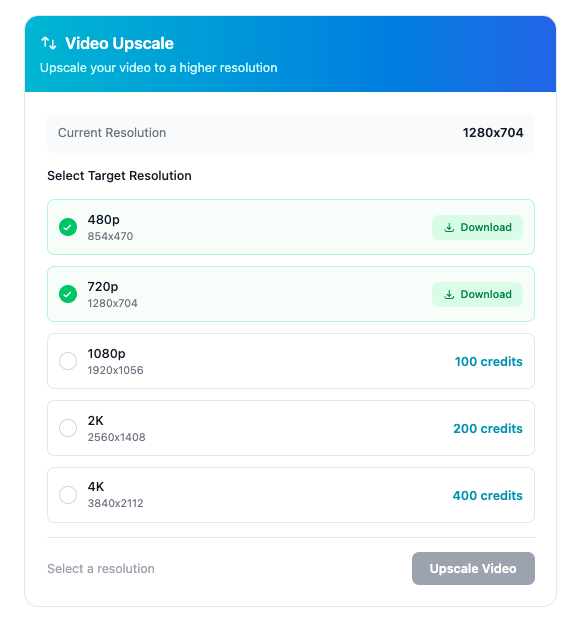
Video Upscale
The
Video Upscale tool lets you enhance video resolution with one click. The current resolution is shown at the top, and you can select a target:
- 480p / 720p — available for download (already rendered)
- 1080p — crystal clear HD (100 credits)
- 2K — ultra sharp (200 credits)
- 4K — maximum quality (400 credits)
Select your target resolution and click
Upscale Video.
This concludes Session 5 of the ActualSales.ai Academy. Image and video ads give you actual sales. See you in the next session!